ˇˇFormula ˇˇFormula
˘ń.Two-Slope Roofing Drawing
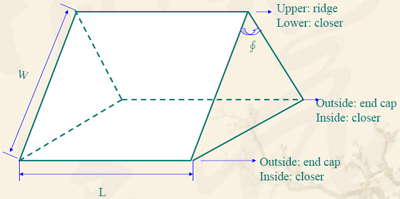
˘ň.Two-Slope Roofing Measurement:
1.S = L* W
2.Total length of roof tile = (L*W) / 0.855
3.Qty of roof tile = (L/0.855)*2
4.Qty of roof ridge = L/2.4
5.Qty of closer = (LˇÂ0.7)*2
6.Qty of end cap = (LˇÂ0.7)*2
7.Qty of bolts: 4pcs/©O
8.Angle is less than 120ˇă
9.alid width is 0.855m
10.alid length of roof ridge is 2.4m/pcs
11.closer is 0.7m long
12.end cap is 0.7m long
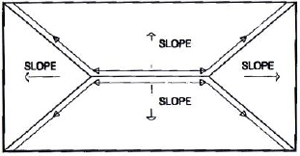
˘ó.Four-Slope Roofing Drawing
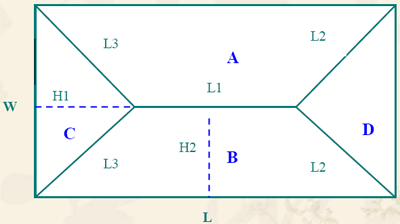
˘ôFour-Slope Roofing Measurement:
1.S = (A+B+C+D)*117% (17% contains the loss rate)
2.Total length of roof tile = S/ 0.855
3.Qty of ridge = (L1+2*L2+2*L3)/ 0.7
4.Qty of closer = (L+W)/0.7
5.Qty of end cap = (L+W) *2 ˇżˇÂ0.7
6.Qty of bolts: 4pcs/©O
7.A Square:ˇľ(L1+L)*H2ˇż/ 2
8.B Square = A Square
9.C Square = (W*H1) / 2
10.D Square = C Square
11.valid width is 0.855m
12.valid length of roof ridge is 2.4m/pcs
13.closer is 0.7-meter-long
14.end cap is 0.7-meter-long
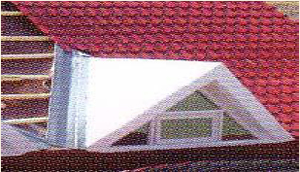
ˇˇPre-Installation
Four-Slope Drawing
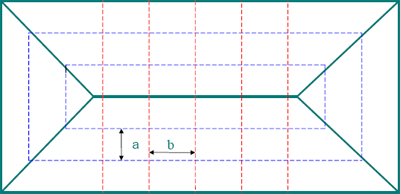
1: Dotted lines of red and blue refer to vertical andhorizontal frames respectively.
2: ˇ°aˇ± is better to be 50 cm.
3: ˇ°bˇ± is better to range from 50 cm to 70 cm.
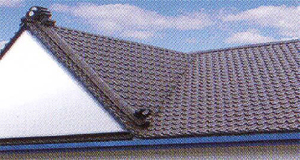
Two-Slope Drawing
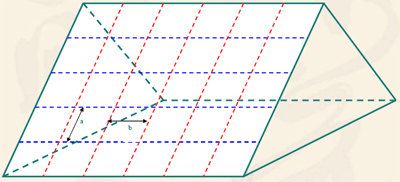
1. Level the roofing surface.
2. Note the frame of steel roof tile.
3. Lay out the frame structures of wood or steel.
4. Wood structure is more than 45mm*45mm
ˇˇSteel structure is more than 40mm*40mm
5. Horizontal distance btw two neighbouring bars ranges from 50 cm to 70 cm.
ˇˇVertical distance btw two neighbouting bars is better to be 25cmor 50cm.
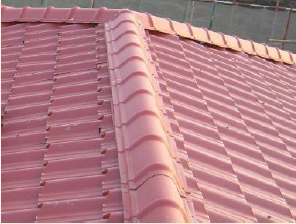
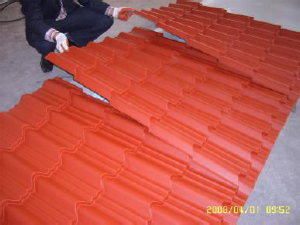
ˇˇInstallation
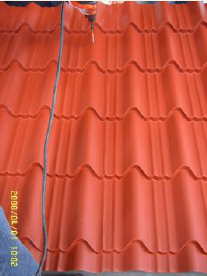
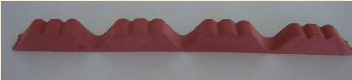
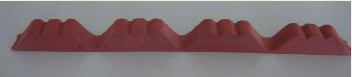
˘ń.Right layout of roof tile
Pile-up |

Over-lap |
1.Pile-up(available for length less than15M)
2.Over-lap(available for length less than 15M)
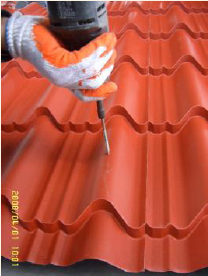
˘ň.Right fixing of bolts(1)
1 Fix bolts in the MIDDLE of roof tile as so to be waterproof
2 Distance btw neighbouring bolts ranges from 50 cm to 70 cm.
˘ó.Right fixing of bolts(2)
3. Fix the bolts from the eaves below to the ridge above
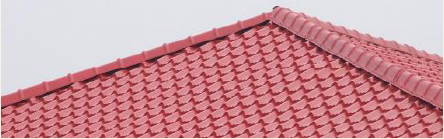
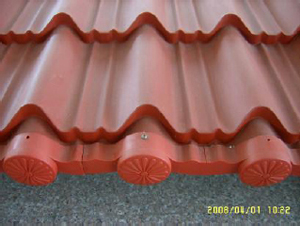
˘ô. Installation of closer, ridge, end cap
1. Separate closer into two.Put one piece beneath roof ridge and fix it with bolts.

2.Put the other piece of closer beneath roof tile and fix bolts

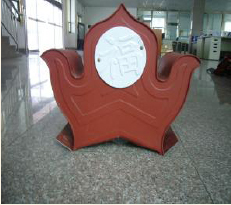
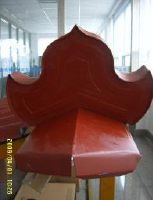
3.Combined sloping roof tiles are furnished with cerement and then covered with ridge above. Ends of roof ridges are combined and decorated with Daebong.
4.Roof edges or eaves are decorated with End Cap
5.Neighbouring ridges are cut and decorated with cerement or glass cerement.
˘ő.Cullis
V-shaped or U-shaped cullis should be made first.You can choose different kinds of gutters according to specific requirements. Then putroof tile on the rail.
˘ö.Sloping
Neighbouring roof tiles are cut. Put gutters beneath them and use cerement or waterproof adhesive to fix.
ˇˇSafety Concerns
ˇ¤ Hamlets, gloves, safety belt and other essential tools are essential.
ˇ¤ Installors should be experts with authorized certificates.
ˇ¤ Fix the frames firmly.
ˇ¤ Step on the middle of roof tile while installing on roof tiles. Do not walk on the roof edges.
ˇ¤ More attention should be paid in severe climates.
|
 Installation Guide
 Contents